DIY Butter, Photo Candles, and Painted Wine Glasses

I’m combining some days of the #12DaysofBlogmas. I’ll also be providing snippets of my book The Underachiever’s Guide to Perfect Holidays: over 300 pages of underachieving recipes and crafts priced at $2.99.

DIY Butter

(kid friendly, memories)

DIY Butter with a Toy Blender. Perfect for Kids to Make for Holiday DInnersWhat I wanted to put in my book but didn’t was homemade butter. When I was a child, my mother would put some Heavy Whipping Cream and a dash of salt into a small Jelly Jar, seal it tight, and hand it to us kids. My sister and I took turns shaking it all day before a major Holiday dinner. As I got older, I got more creative with my butter adding things like honey.

Now that I’m a mother, I let my kids do this one year, except they were too young and unfocused to shake a jar all day, so I put the whipping cream and salt into a toy blender, and then I let it blend for a few hours.

The important thing is to keep the Whipping Cream in motion until it resembles butter.

Minnie Mouse Blender available at Toys R Us (and they aren’t paying me to say this).
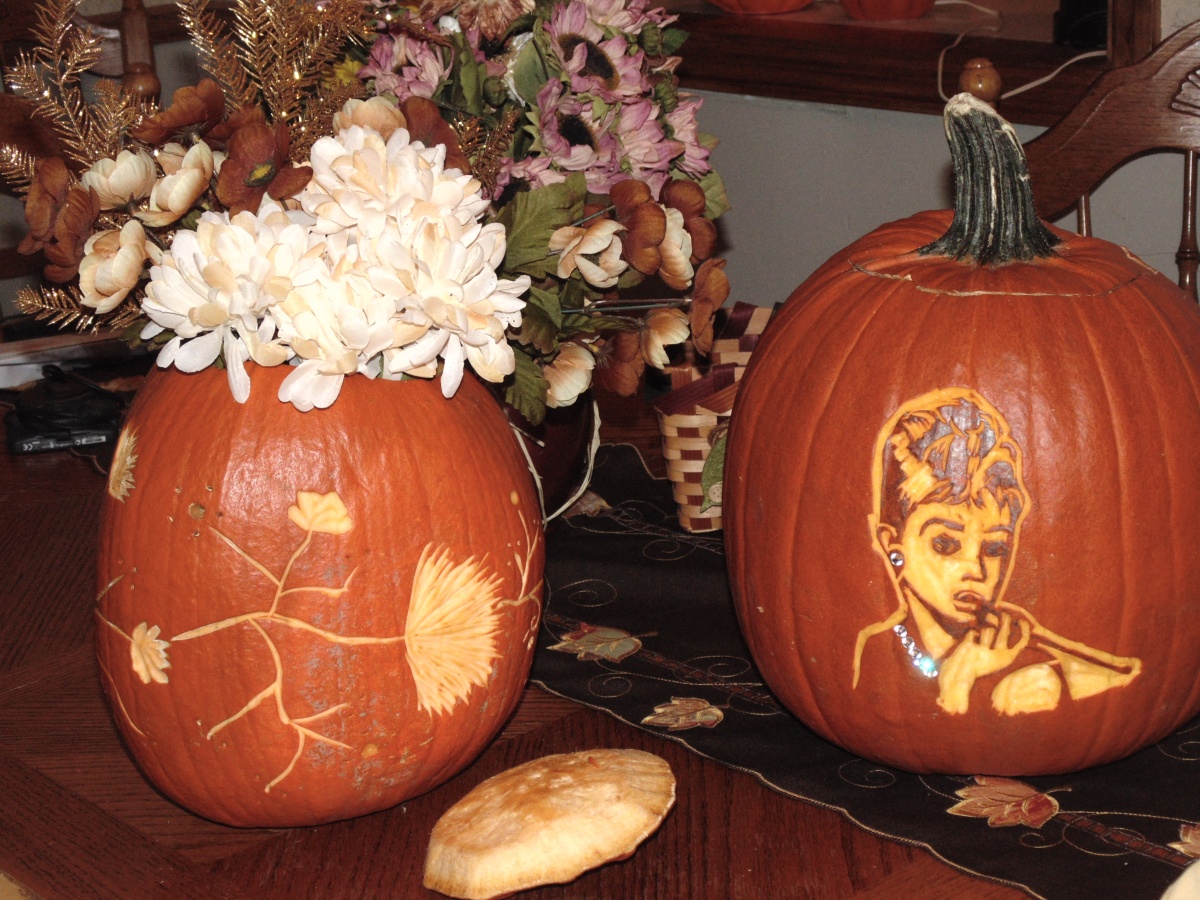
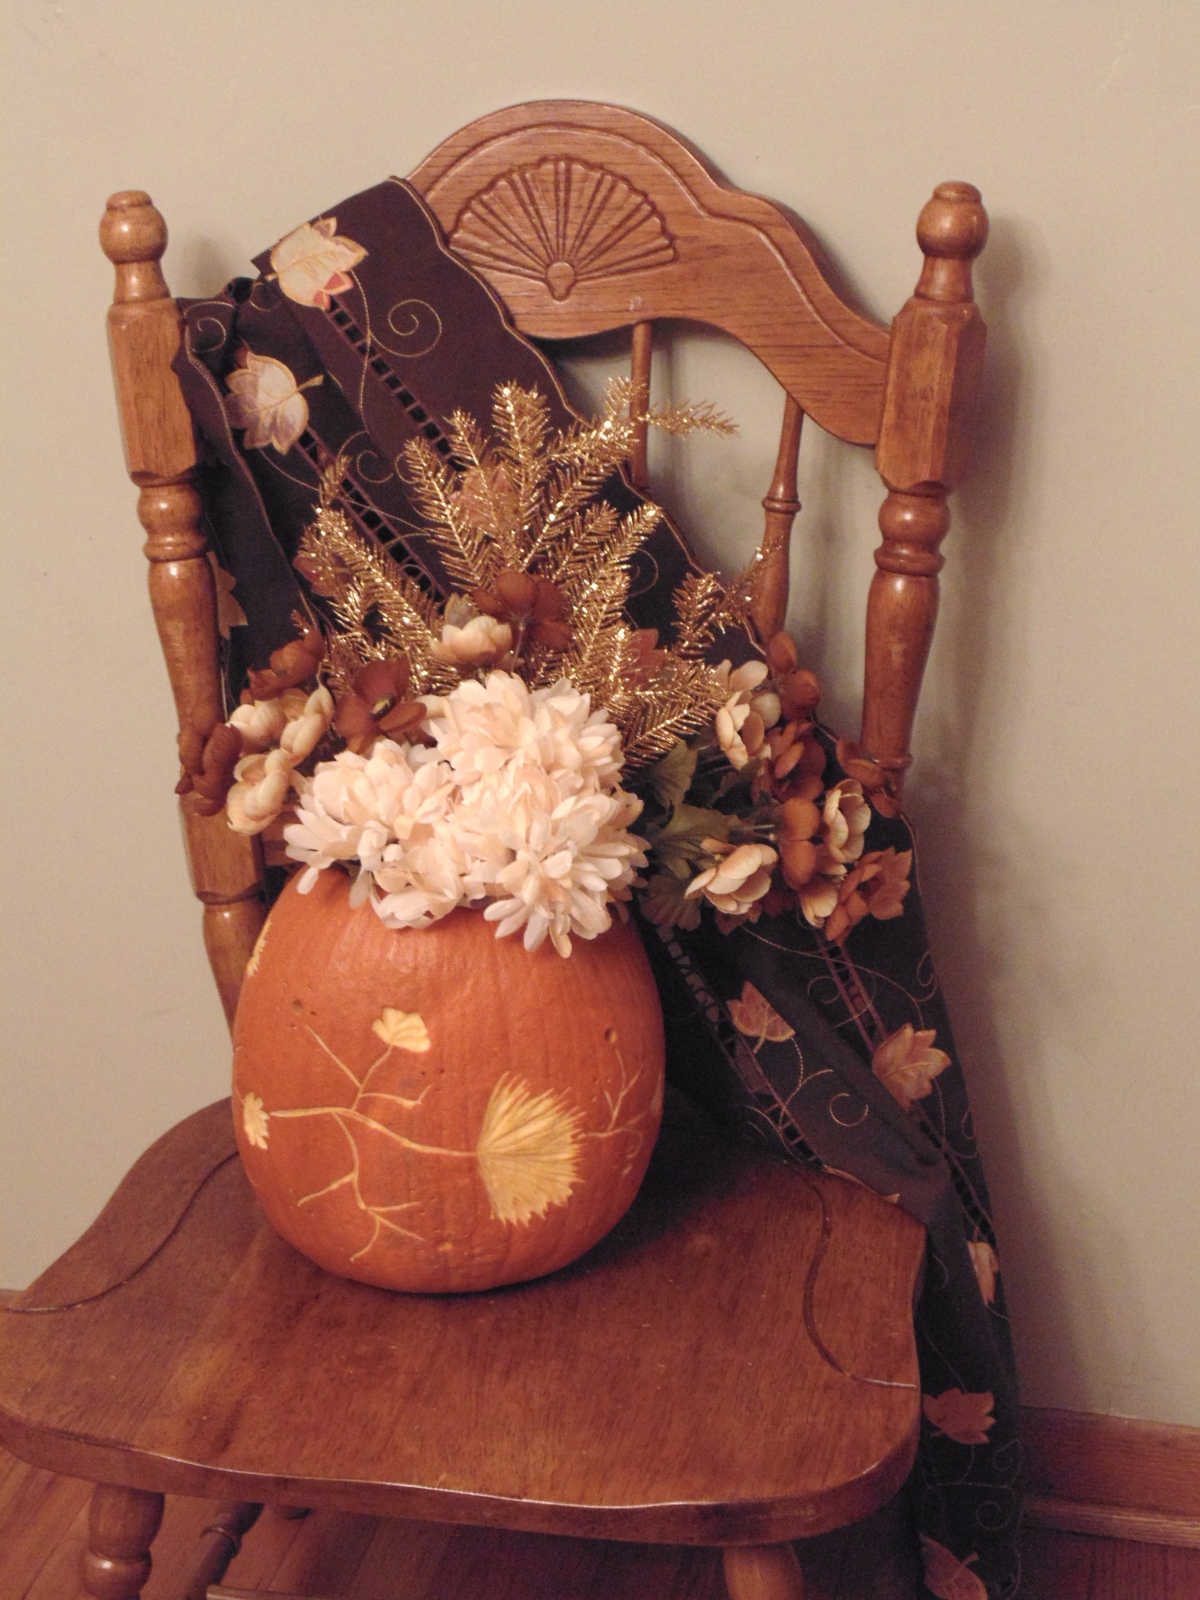
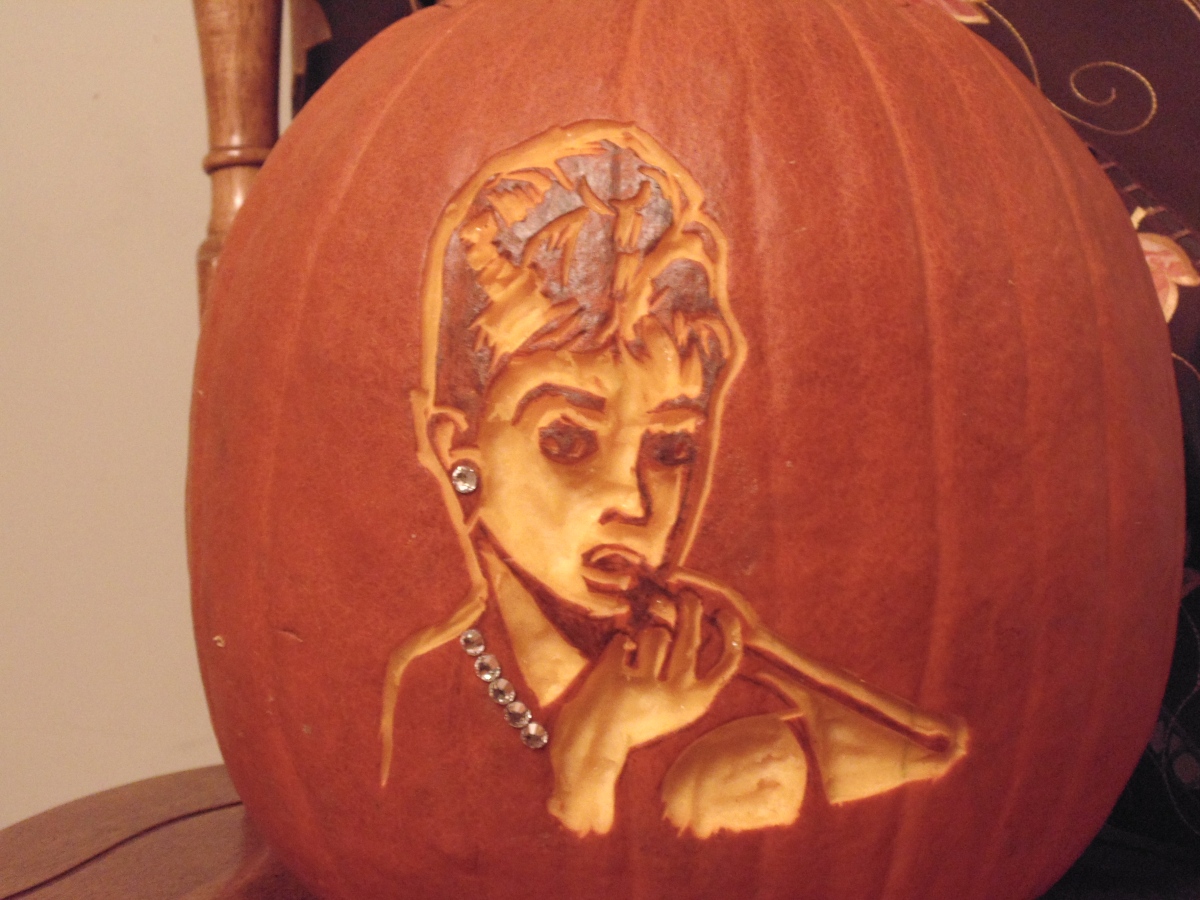
Photo Candle

(DIY, Christmas Fav’s)


DIY Photo CandleThe photo candle craft was one of my favorites from my book, The Underachiever’s Guide to Perfect Holidays.

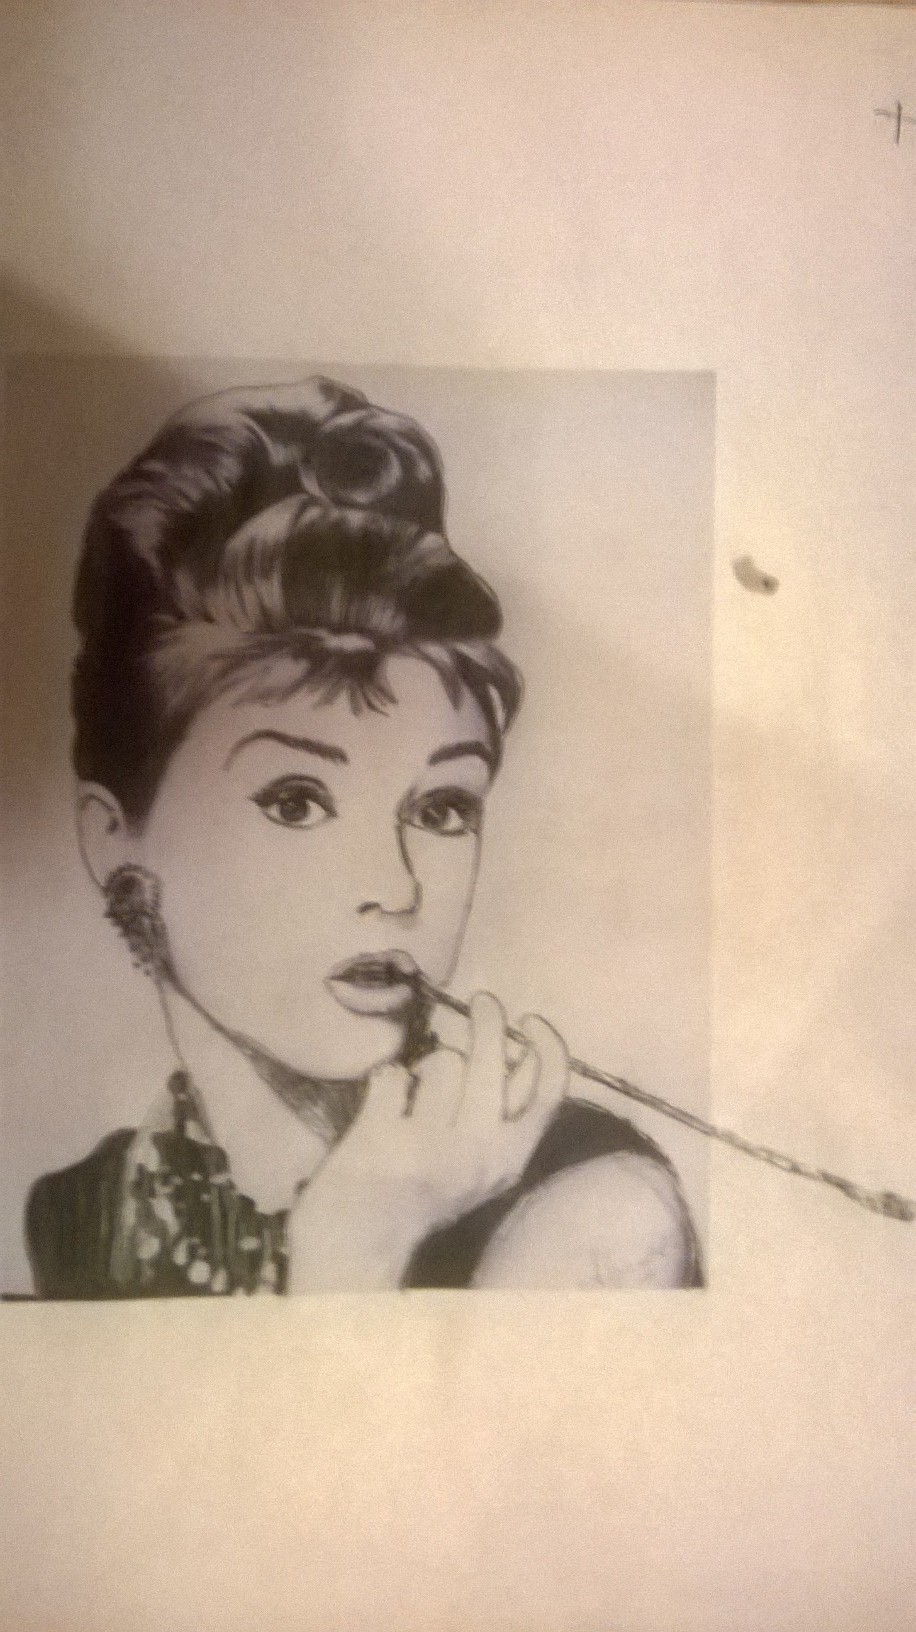
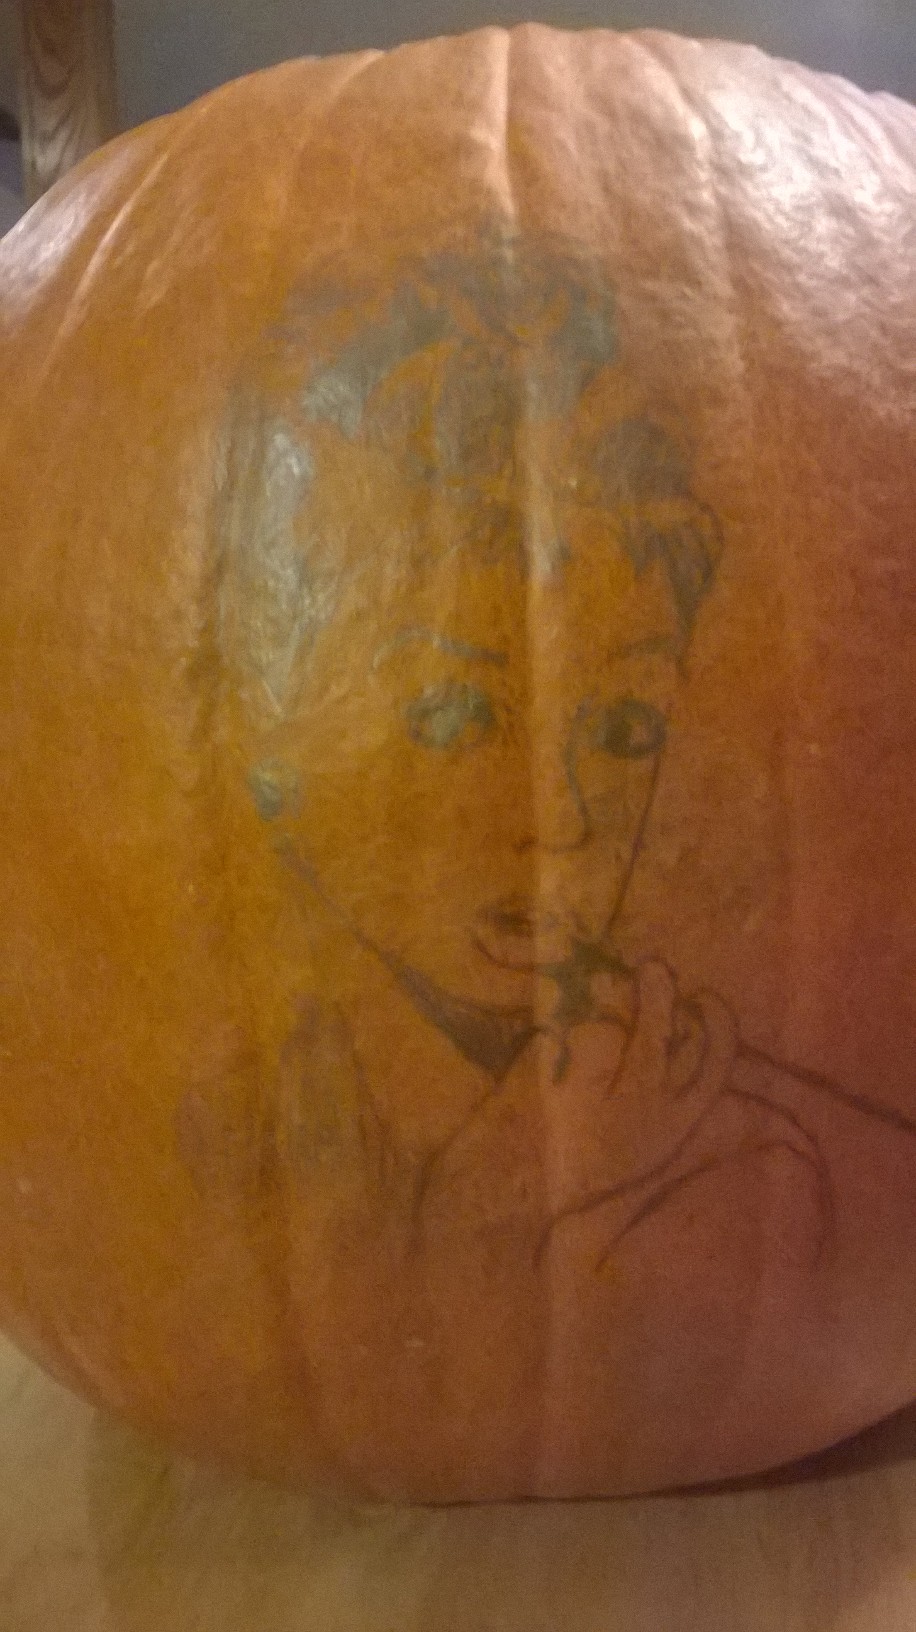
It’s really simple. Find a photo you want to transfer on your computer. Measure the width and height on the candle for the dimensions you want, and size your image accordingly. Take a piece of white tissue paper, and tape it to a sheet of paper. I wrapped mine around and taped to the back of the paper. Insert paper to printer making sure you have it facing the right direction (up or down depending on the printer). Print photo. Cut around the photo. Place on candle, and blow dry until it disappears into the candle. It helps to push a little and smear during this process, but be careful not to burn yourself.

Photo Tips: The best photos have no background so it’s not a block square. You can either remove the background in your graphic software or cut around. It doesn’t have to be perfect, just close enough.

You can find candles at Dollar Stores for bulk giving.

Painted Wine Glasses and Etched Glassware

(DIY, Christmas Fav’s)

The Underachiever's Guide to Perfect Holidays DIY Gifts to Make. Check out Wine Glasses for Free.

The items in this image are all DIY projects from my book, The Underachiever’s Guide to Perfect Holidays. Today, I’m telling you how I did the wine glasses.

Just purchase some cheap glassware from The Dollar Tree or any store, and then get artsy with it.

DIY Painted Wine Glasses.Etching Pens can be found at most craft stores, and even my Dollar General carries one (though a little pricier than the craft store). Pat Catans is selling them for about $5. You push a button as you draw on glass, and it etches. I do store mine taken apart so nobody accidentally gets hurt. You can also buy etching chemicals to smear over a stencil, though those are pricier.

Gloss Enamels can be found in most craft stores, including Walmart, at about $2 to $3 a color. You want to make sure it’s designed for glassware, and it will have instructions on it about baking on the glass. You want this kind because the baking on the glass keeps it in tact during washings.

Permanent Markers are perfect for a thicker coat than Gloss Enamels; however, they don’t hold up as well when washing. This includes the ones that are advertised for glassware… Unless you bake it, it’s going to come off easy. The vinyl shapes also come off easy in washings. So these are perfect tools for things you won’t be washing frequently like Candles Holders and Vases.

You can freehand some designs. The Gloss Enamels go on clear, and with multiple coats will stand out better, but it’s still “see through.” That kind of gives you more freedom to not be perfect with designs. Plop dots and lines anywhere. You can use painters tape to help make a straighter edge for stripes. You can also use stencils or make stencils with your computer.

For darker colors with the gloss enamels, apply a first coat (be generous with the paint). Allow to dry for at least 5 minutes though most places tell you to wait an hour, but the important thing is that it’s mostly dry because if it’s still damp at all, you’ll get the dry erase effect (where you draw with a dry erase marker, and then if you draw over that, it erases, and kills the flow of the strokes). Then apply a second coat. Repeat.

Don’t forget to check out my book.

The Underachiever's Guide to Perfect Holidays. DIY and Recipes that are cheap, easy, and fail proof.

This has been part of the 12 Days of Blogmas.

Follow Girl on the Move’s board 12 Days of Blogmas on Pinterest.//assets.pinterest.com/js/pinit.js

Zombie Apocalypse Survival Guide

Zombie Children Funny

The Zombie Apocalypse hasn’t happened yet, despite the Miami guy. You remember him? The guy they found eating a human alive? Then they had a hard time killing him? And then we blamed bath salts. But we all know he was part of an experiment the government was performing to create the perfect army and it went awry so they covered it up with drugs like they usually do, i.e. The Mexican Drug Cartels (obviously part of an earlier experiment). You don’t believe me? You probably shouldn’t, but in case you do, here’s some interesting blog posts on the subject. Really, you won’t be prepared for the impending zombie apocalypse without these.

Your Zombie Apocalypse Survival Guide according to the internet:

Disclaimer about fear of zombies and using humor to reframe the fear

My first-hand experience with the zombie apocalypse. It was a vision, but a very vivid one to count as first-hand… Don’t let the zombie worms get in your hair.

Your first-hand experience with the zombie apocalypse. Bet you didn’t realize you were already there did you?

When Twitter experienced the zombie apocalypse…

Supermommy was there, trying desperately to get her hands on meds…

Advice from Jenny at the Bloggess (she’s a guru in zombie preparedness)

Insane in the Mombrain has two sure-fire weapons to use that aren’t swords or guns… Well two for women. The second one requires a vagina. Men, you’re just screwed.

Don’t forget the Queen of Cussin has a list of must-haves

Survival Mom Survives

Plan for everything. You need a living will in case you become a zombie. Let your loved ones know when to pull the plug and when to kill you…

Who would be in your zombie fighting tribe?

CDC recommendations

Get your zombie apocalypse Preparer badge

If you're ready for a zombie apocalypse, then you're ready for any emergency. emergency.cdc.gov

A seriously awesome resource for homestead survivalism. Real advice. For instance, did you know you can eat the entire cattail plant? Apparently the top part tastes like corn.

FOxy Pocket Post Card


Zombie Paraphernalia


ZOMBIES EAT BRAINS MUGS
ZOMBIES EAT BRAINS MUGS by twilight_cat
Find additional mug online at Zazzle.


Super Easy Pinterest-Worthy Pumpkin Carving How To

I sought out to carve some awesome pumpkins this year. I think I succeeded, but that’s a really subjective opinion.

2014 Pumpkins


I actually carved both pumpkins in a matter of 2 hours tops, which included finding stuff the kids moved and breaking to help them with their stuff. Here’s the pumpkin carving how to for each pumpkin.

The Decorative Pumpkin

Pumpkin Decorative

I made a youtube video of this… excuse the cleavage. My melons competitively show up around any melon-like objects…


Decorative Pumpkin Carving How To:

1. I purchased Linoleum Carving tools at my craft supply store. I also grabbed some wood carving tools too, but the Linoleum version was easier to work with on the pumpkin itself. I also grabbed the prettiest cheap flowers they had. I think real flowers look better, but I was too lazy to go to a second store.

2. Using the number 2 sized linoleum cutter thing on a pumpkin I already had gutted out, I made a “vine” on the pumpkin, randomly.

3. I scraped a fan like flower outward on the end of the vine with the #2 cutter. I made new vines, and some I scraped more fan like flowers, others I made holes with drill bits and miniature screw drivers. Some I dotted 3 dots around the vine end; others, I did a big hole with the bit and surrounded it with smaller holes. The rounder looking flower scrapes were done using the same method as the fan flowers, but with a wider wood cutting tool.

4. I just kept doodling with the carving tool until the pumpkin was covered.

5. Then I added some electronic tealights inside and topped with the flowers.

Note: The deeper you carve, the better it will look under the glow. You have to get pretty deep for there to be a glow, but be careful, too deep and you cut through too much.


Audrey Hepburn Pumpkin

Audrey Hepburn Pumpkin CLOSE


This one required less creative effort than the decorative pumpkin.

Audrey Hepburn Pumpkin Carving How To

1. Go to Google, and find a photograph of what you want to do. You want something crisp enough to trace, like you could trace it and get what you want.

Audrey Hepburn Pumpkin How To 1


2. Size it with the pumpkin. Print it up. Fix it up if you have to. On mine, I had to draw the rest of Audrey Hepburn’s cigarette thingy.

3. Color the back of the paper where the photo is (you don’t have to do the whole sheet, just the part where the photo has ink) in pencil. Get it good. You want the thickest goop of pencil on there. You are turning your paper into a carbon thing you can copy.

Audrey Hepburn Pumpkin How To 2

4. I honestly suggest this method for transferring images to pumpkins, even simple ones you are completely carving, as opposed to dotting it with a poking device like a nail. Tape the paper (or hold it up) to the pumpkin where you want the carving. Trace the photograph. Color in the dark spots you don’t want to carve. It’s ok if you veer from the original photo a little. A lot of details are supposed to get lost. Remember, you are carving this, so the less detail, the easier it will be. In addition, if you are wanting to add things to the pumpkin, like I was planning with the bling, make sure that spot is darkened and there’s enough room for whatever it is you are adding.

Audrey Hepburn Pumpkin how to 3


5. Remove the carbon picture, and start scraping with the #2 Linoleum tool on all the white spots. Do not worry yet about depth. Worry most about detail. Making sure you don’t accidentally take out something you wanted to keep on there.

6. Once you’ve removed a good chunk of the pumpkin with a good accuracy tool, then go over it again with a wider tool. In this case, I used a wood carving tool that was super wide. It was easier to work with on pumpkin already carved with the Linoleum tool than straight uncarved pumpkin. For this, I focused on smoothing out the grooves the Linoelum cutter left, and on getting the depth I wanted. I could not quite achieve the depth I wanted overall, but I came close enough.

7. When I finished, I added some bling I bought from the craft store from the wedding aisle. I gave Audrey an earring and a necklace with it.

Get your beer or soda cold faster… I don’t know why I keep blogging about stupid shit

I don’t know why I keep choosing really random, meaningless topics to blog about lately. I think it’s because the Zimmerman case and all the opinions (especially the whiny ones on why is Trayvon famous and not this victim? What about racism against white people? what about shut the fuck up with this stupid shit come the fuck on?) has fried my brain to a point where I would rather talk about how to get my fucking soda cold faster, or ways to sneak chocolate bites when the fam isn’t looking. I mean, this is the shit we should be talking about for a minute because really, fuck zimmerman.

Royal baby, props to you. Don’t name it North West please like our royalty did. Russia, you were totally trying to intimidate China with those exercises like we did Korea, stop frontin. I guess the NSA is reading all our shit. Well if you are reading this, hit the like button, share to your friends, and don’t forget to stalk my awesome, like put me on your favorites without incriminating me of something bad or negative. Anonymous, why so quiet? So now that I got rid of the horseshit. Let’s get to the meat of the current events…

It’s not only summer, it’s the end of July heatwave thunderstorm weather’s menstrual period. If you are bat shit crazy like me, you probably buy your favorite canned drinks, whether it be beer or soda, and totally forget to put them in the fridge. Or you wait until you are totally out to re-stock. Then you just really REALLY want that ice cold, almost slushie, drink right now, like a baby wants a boob (or a really drunken horny man for that matter, or a horny man for that matter, or a man for that matter).

So I’m going to tell you the fastest way to get that can soda cold, Mythbusters Style. Yes I totally stole this from Mythbusters. If you didn’t see this episode, yes I know you are jealous of my nerdness, it’s okay. Just don’t nerd hate.

Grab a bucket/bowl/dish/some device that holds water, the size you are wanting to go with. Fill with ice, at least half way, but I usually aim for 3/4 of the way. Top with salt. Lots of salt. Don’t sprinkle the shit. Dump it like a child adding sugar to Grape Nuts. Then add some cold water, like halfway up the ice or whatever. Mix it with your fingers until your fingers are numb. You should feel it get colder and colder by the second. It should only take like 15 seconds to get it really cold where the container starts to condensate. If it doesn’t within 30 seconds, it needs more cowbell.

Then stick your drink in it. Wait about 5 minutes. You probably want to wipe the top to reduce salty flavoring unless you are drinking piss beer like Corona.

How does this work? You know how when there’s ice on the road you pour salt on it? That’s because salt melts ice. But the weird shit is, while it melts the frozen water, it makes it colder. How the fuck it does that? I don’t remember that part of 9th grade science. I just remember this shit. You’ll have to find a geek for that. Good luck and may the intellect be with you.

Note, I took these pictures on a mattress protector my daughter stuck on top of the kitchen island like a tablecloth for her party she threw for daddy being awesome. I think she just wanted reason to have cake. She’s so me.

Crafty Neighbors… Crafty I tell you.

So when you see me come home from the craft store with blank stretched canvas, that means I’m about to hand my kids some water based washable paint and a bunch of brushes. I’ve been doing that since the beginning of time with them. For years, I refused to buy coloring books. They got blank canvas or blank paper. Now, they prefer that. The 5 and 6 year old have figured out just recently what to do with a coloring book, but they are fabulous artists who’d prefer to draw a picture. They express their emotions in their art (healthy), and they are developing their talent (we all are uniquely talented). Blah blah blah blah I’m fucking awesome. Haha. Only thing is, I have a lot of canvases that are painted a red brown. It looks like abstract art. Just about all of them look like this. One had a tree in the middle, and then they painted over it. Some of them end up more of a brown or green. On a plus note, my kids are now starting to paint rainbows and hearts.

This doesn’t exactly match everyone’s decor, and kids love it when you hang their art work up on the walls.

So, I saw my neighbor today with stretched canvases coming home from the craft store. She has no idea I’m blogging about her, so I must talk about her behind her back for a second. She’s OCD, and an opposite of it than I am. I freak out about stuff you can’t see. She freaks out about stuff you can see. Her house is always spotless, beautifully decorated, and it smells fabulous, which is remarkable considering she has a 5 and 6 year old. I get a Donna Reed boner every time I go down there. She’s the reason why I do those wax warmers now.

With that said, the pictures my kids paint would probably drive her nuts on her walls. Too much chaos. Too abstract. Her living room is decorated in Steelers (Go STEELERS), black and white extra thick canvas photos of her family, and warming inspirational quotes. She’s a candle fanatic too, preferring Yankee candles for the scent, but decorating with all sorts of candles she will light with the Yankee candles and the wax burners. Her favorite color scheme for decorating is simply black and white.

So here are her wall friendly crafts she did with her kids, and I know they are on her walls because I could hear her hammering in the nails (or it was my kids just playing in my closet).

First the Tree of Life…

Each hand print on the tree is one hand from each member of her family. How freaking cute is that? And it’s definitely worthy of hanging on your living room wall without looking like Hobby Lobby threw up on it.

Then her oldest child did this one…

Cut out a heart on paper (or any shape you want), and tape it on the canvas. Spray paint the canvas black (or any color, or leave it white) and let it dry. Glue the crayons on the canvas. Let it dry. Tilt the canvas and use your blow drier to melt the crayons..they will start to splash everywhere in the canvas. When that cools and hardens, remove the paper and let the child paint the heart. The butterfly, she hot glued it after.

For this one, her younger daughter, she cut out the letters L and E with paper and taped it to the canvas. Then she spray painted the canvas black (you can use any color combo here). After it dried, she removed the paper and painted her daughter’s hands first and put it on the canvas then the feet..then they colored the L n the E.

She says you can do a lot too with broken crayons and the blow dryer. Google and Pinterest are both full of ideas. Probably where she got these.